Installing TrueNAS Scale

TrueNAS SCALE is an open-source, Debian-based NAS (Network Attached Storage) operating system, designed for scalability, sharing, and protection of data. It's a versatile platform suitable for personal, small-business, and enterprise-level applications. In this blog post, we'll walk you through the step-by-step process of installing TrueNAS SCALE on a new PC, turning it into a powerful storage solution.
Step 1: Check System Requirements
Before starting, ensure your hardware meets the minimum system requirements for TrueNAS SCALE:
- 64-bit processor: Most modern CPUs will suffice.
- Minimum 8GB RAM: More is recommended for better performance, especially if you plan to run additional services.
- Boot drive: At least 16GB of space. A USB drive can work at a push, but an SSD is recommended for reliability.
- Network interface: For connecting to your network.
- Storage drives: For your data storage needs a minimum of two identically-sized devices for a single storage pool. TrueNAS SCALE supports a wide range of configurations
These are minimum requirements and for a serious system you will need to exceed these. A full discussion of the hardware requirements can be found here.
Step 2: Download TrueNAS SCALE
- Visit the official TrueNAS website.
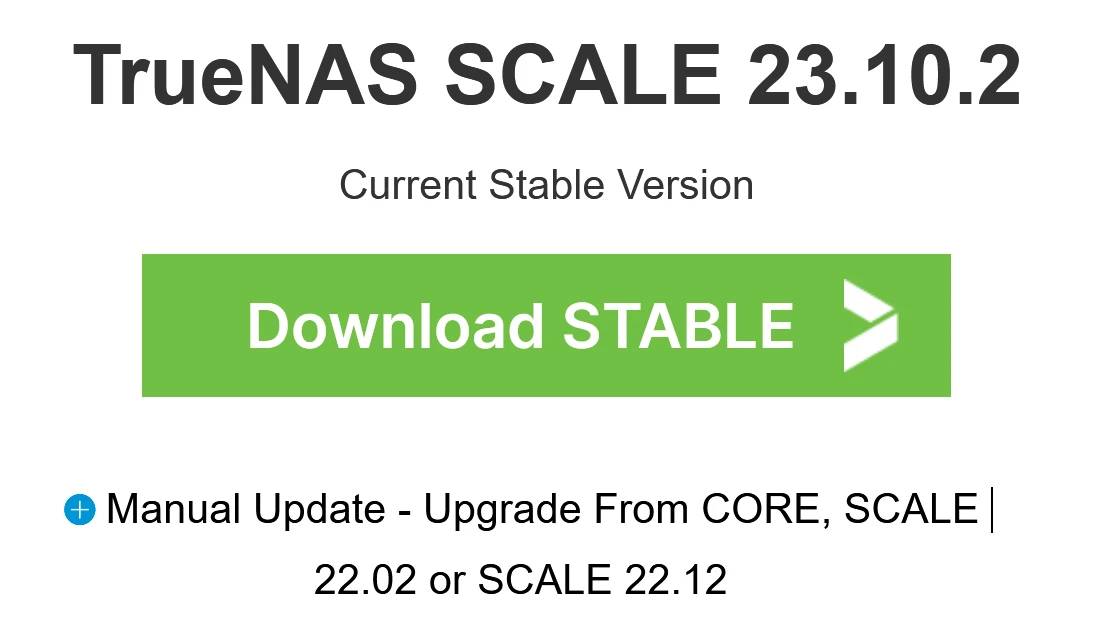
- Choose the version of TrueNAS SCALE you wish to install. If you're unsure, select the latest stable release. AT the time of writing this was 23.10.2.
- Download the ISO file for TrueNAS SCALE.
Step 3: Create a Bootable USB Drive
To install TrueNAS SCALE, you'll need to create a bootable USB drive using the ISO file you downloaded:
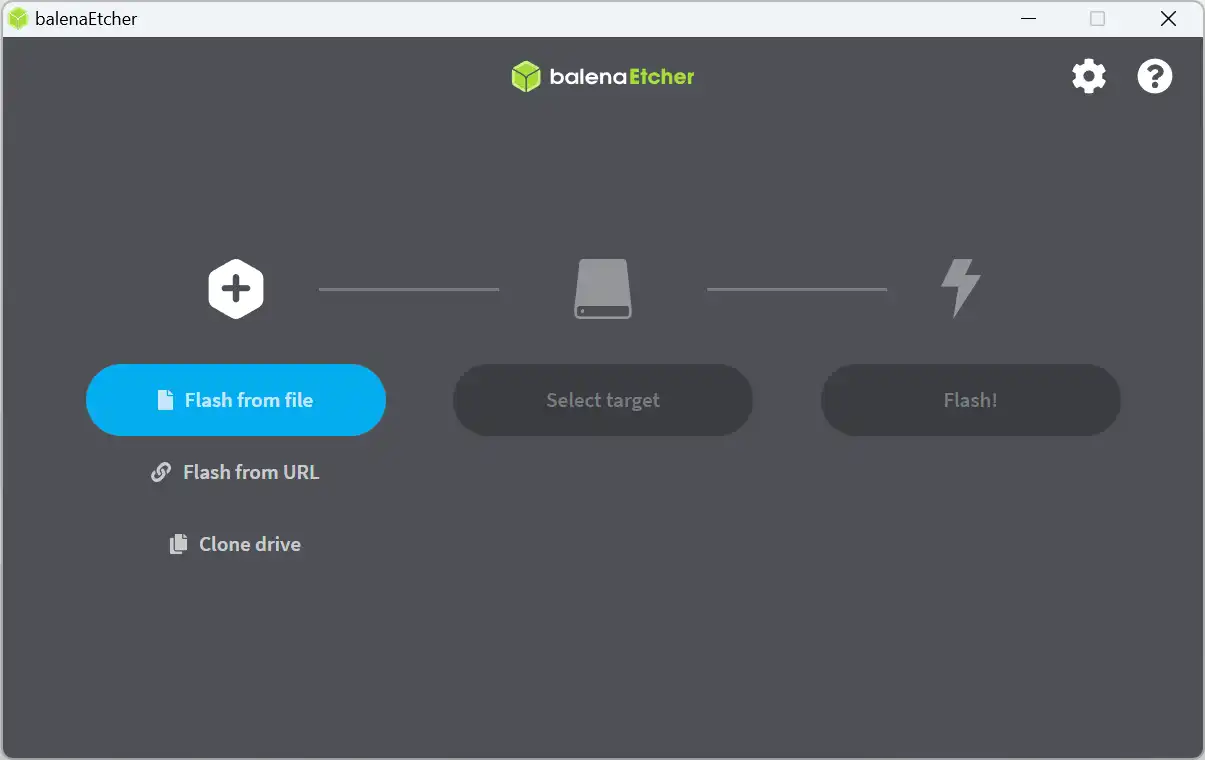
- Download and install a USB flashing tool such as Rufus or balenaEtcher.
- Insert a USB drive into your computer (ensure it has no important data, as it will be formatted).
- Open the USB flashing tool and select the TrueNAS SCALE ISO file.
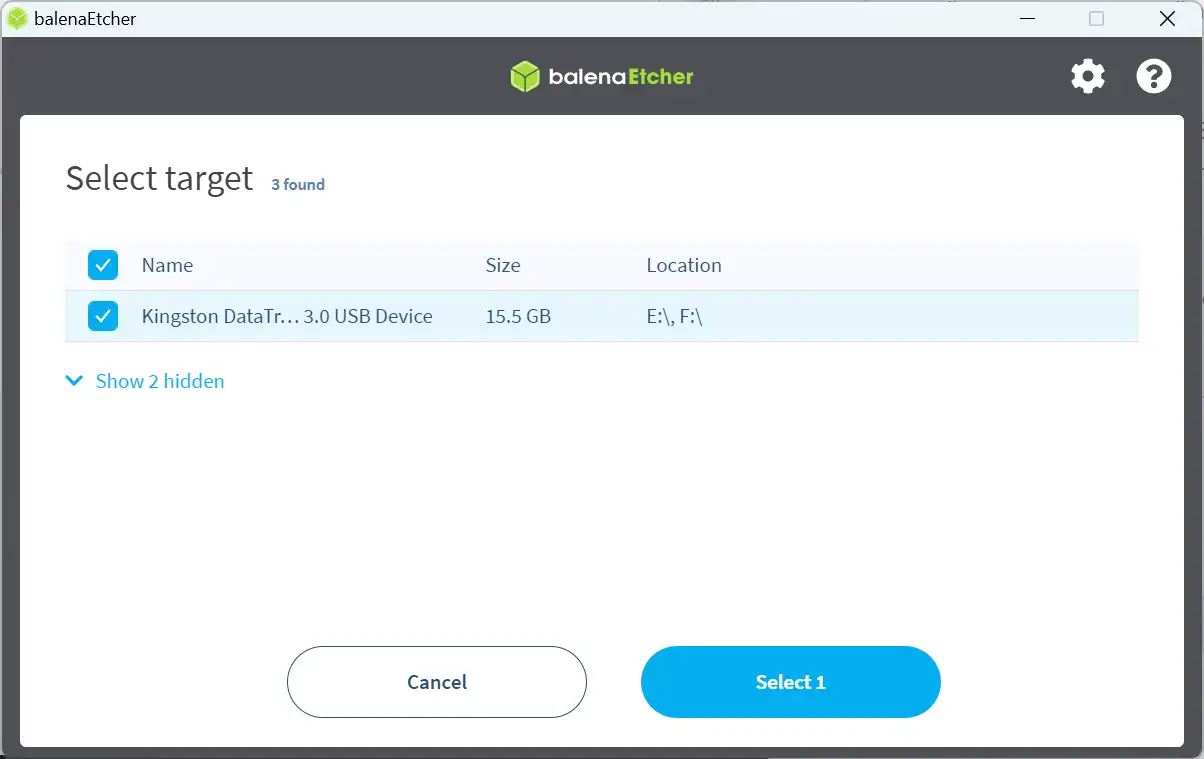
- Select your USB drive as the target and start the flashing process.
- You may have to give the app permission to make changes to your PC.
- Once done, safely eject the USB drive from your computer.

Step 4: Boot from USB
- Insert the bootable USB drive into the new PC where you want to install TrueNAS SCALE.
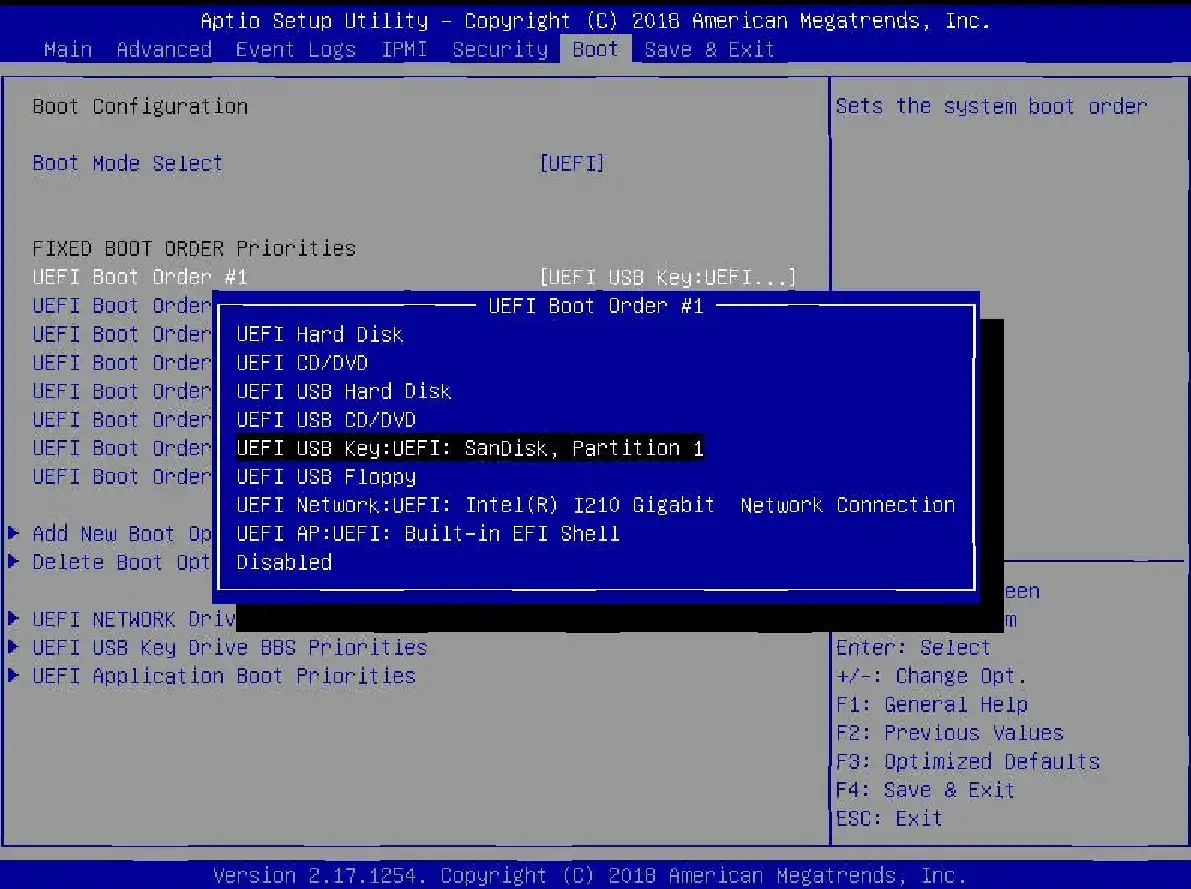
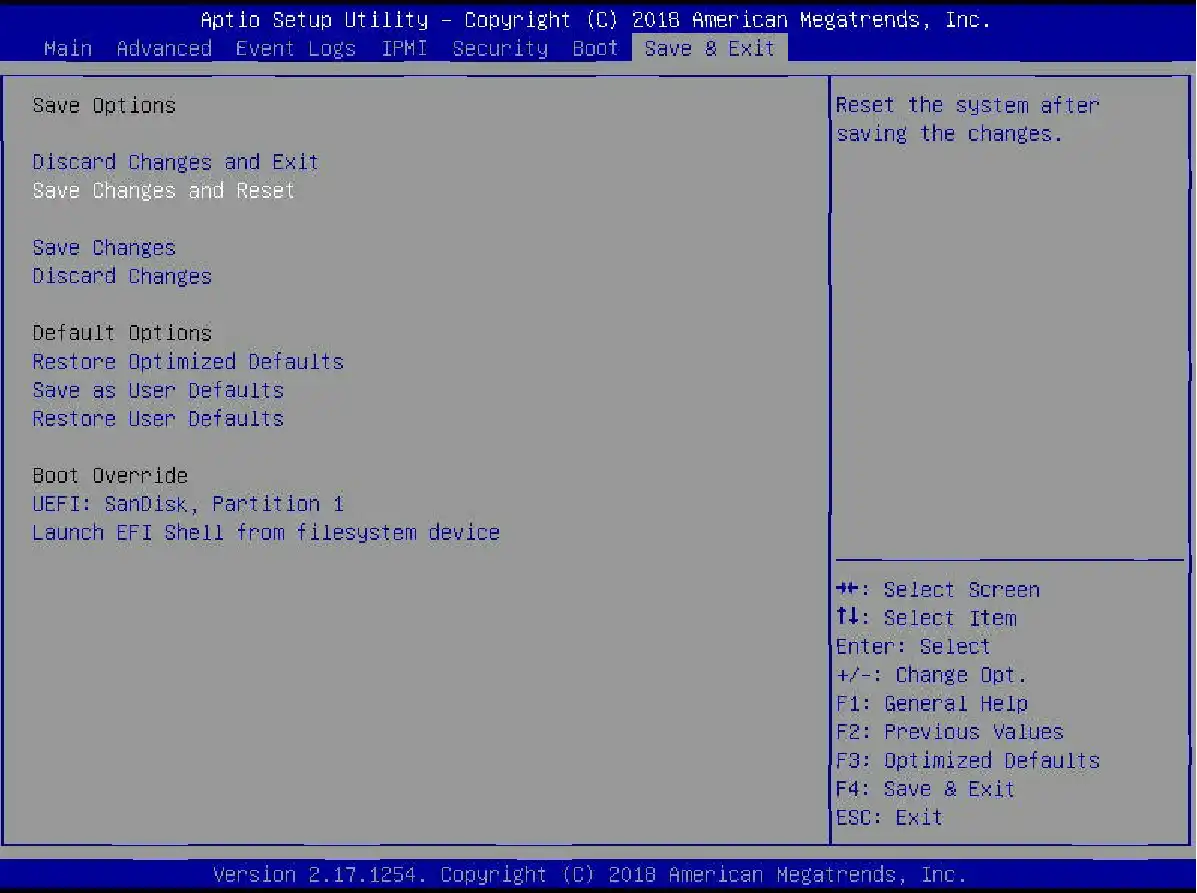
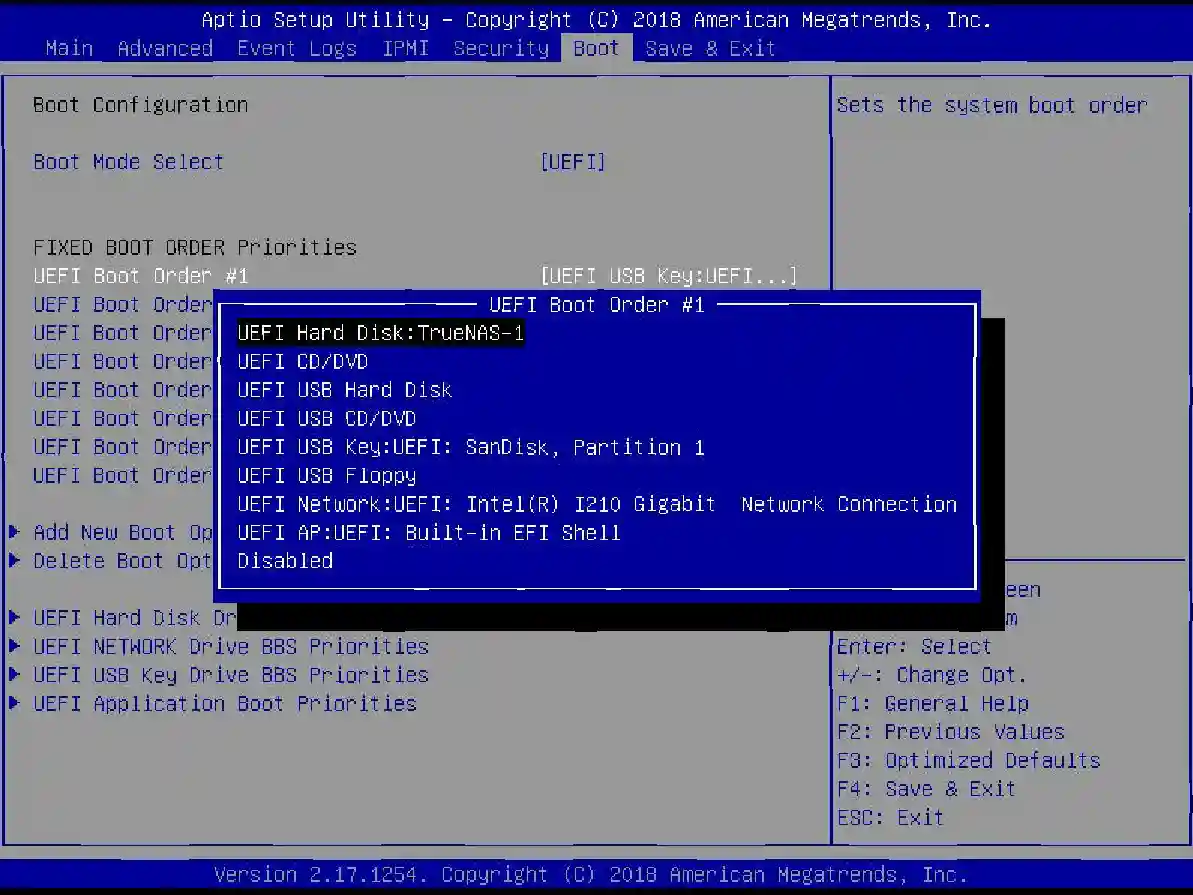
- Boot the PC and access the BIOS/UEFI settings (usually by pressing F2, F10, F12, or Del, depending on the motherboard).
- Navigate to the boot options and set the USB drive as the primary boot device.
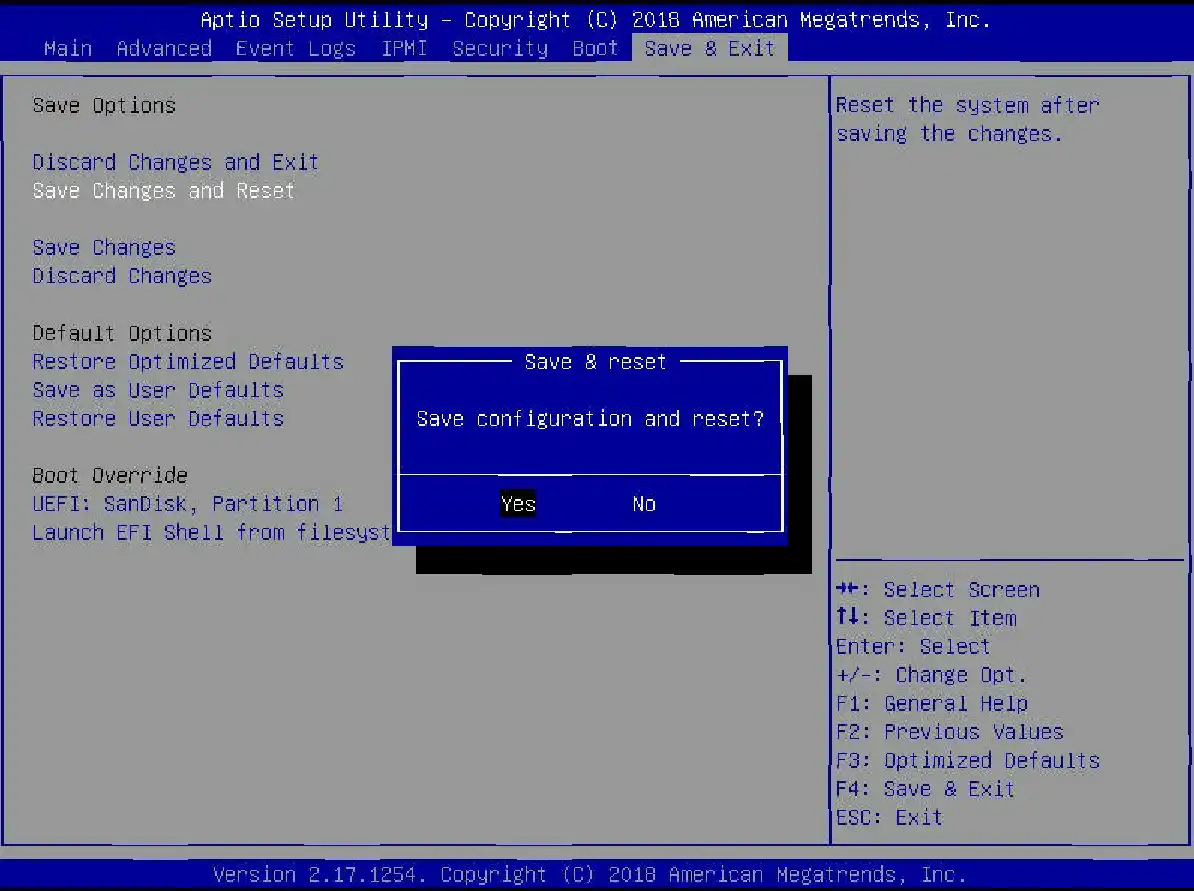
- Save changes and exit the BIOS/UEFI. The PC should now boot from the USB drive.
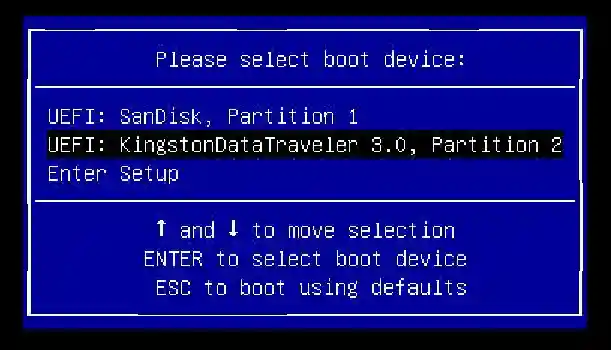
- You may have to press a key (Maybe F11) during boot to access the boot menue
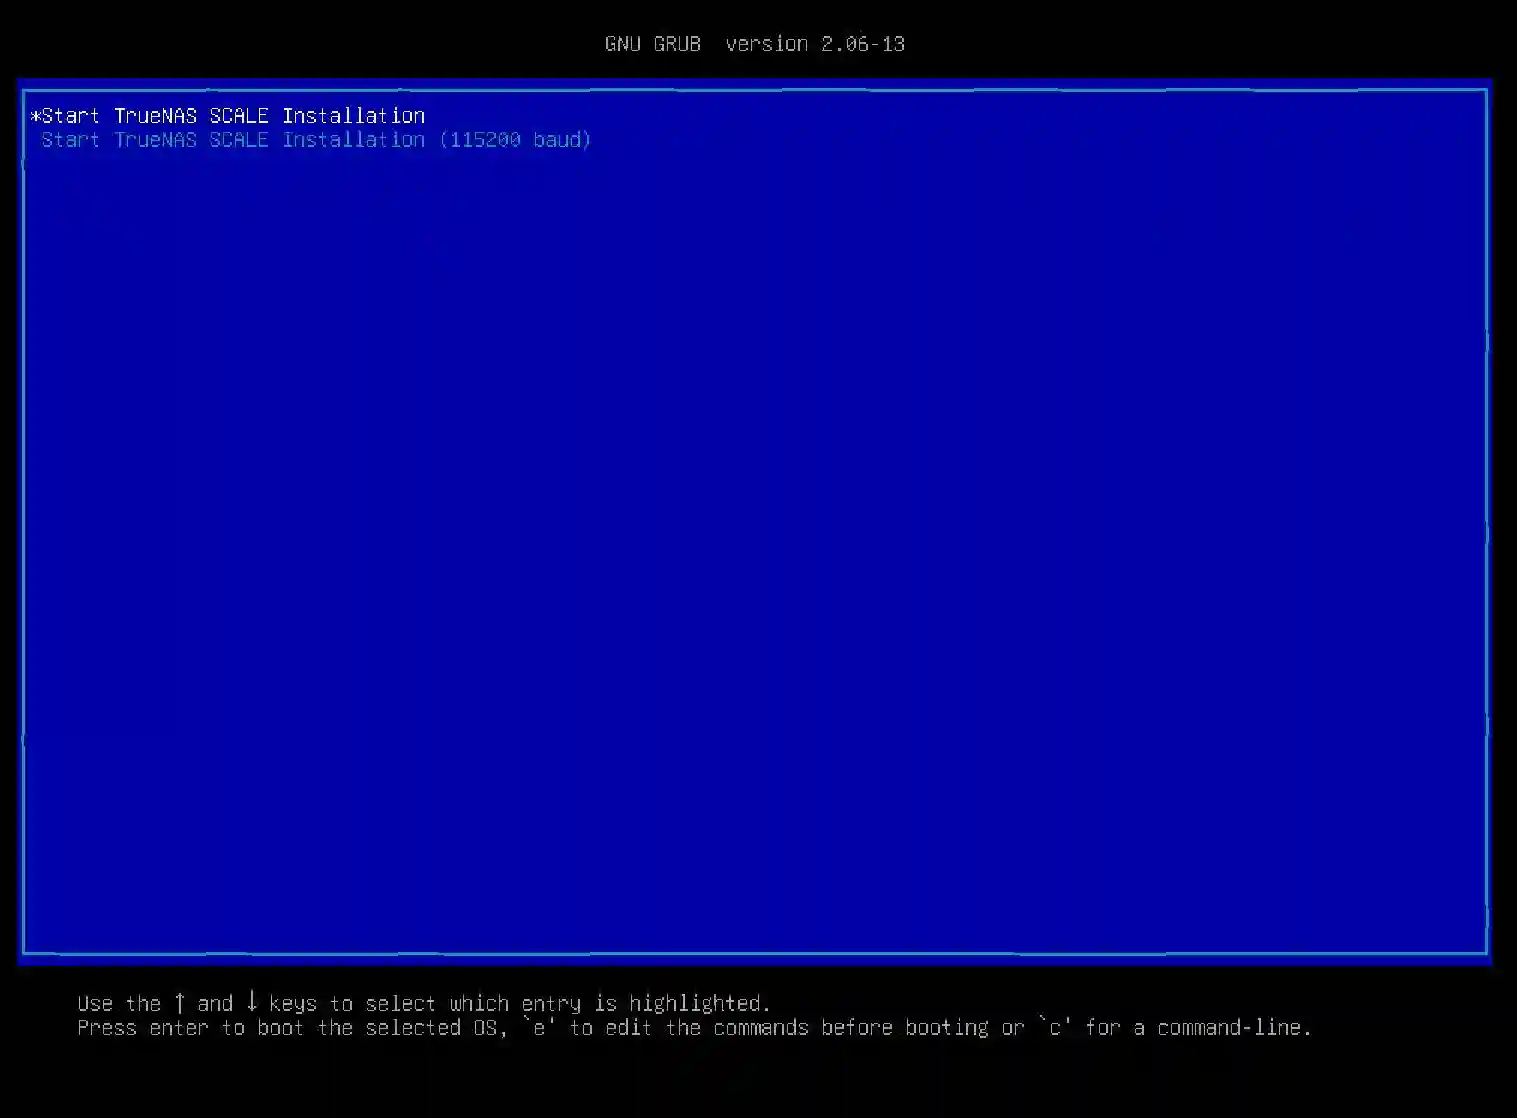
Step 5: Install TrueNAS SCALE
- Once booted from the USB, you'll be presented with the TrueNAS SCALE installer menu. Select "Install/Upgrade" and press Enter.

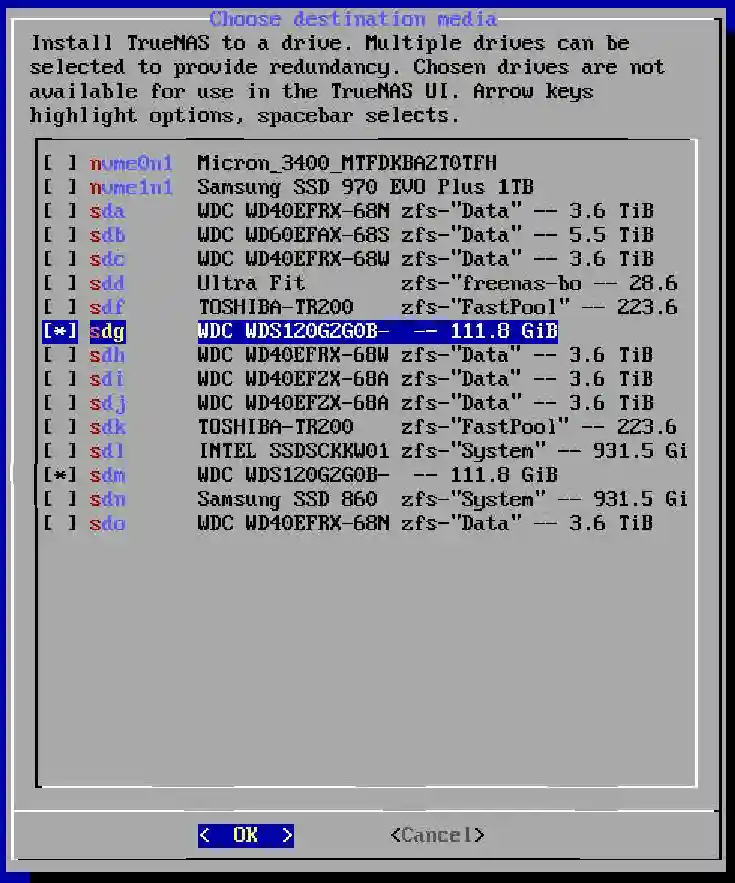
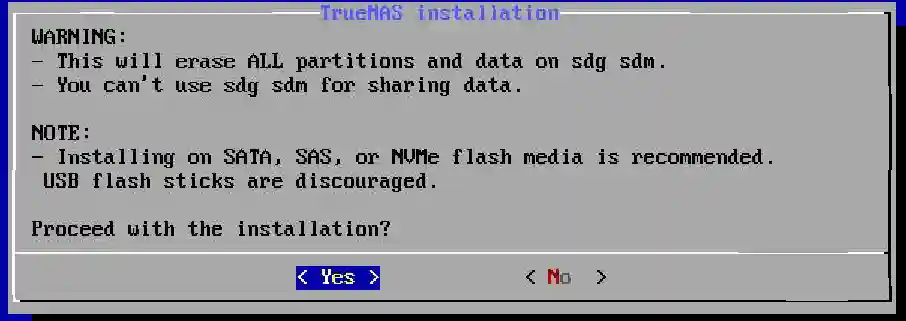
Select the target drive where TrueNAS SCALE will be installed. Caution: This will erase all data on the selected drive.
The system that is being used in this example has many discs and has been previously used for FreeNAS.
Use the Tab and Arrow keys to highlight the disc you want to install the operating system to. Once you have the disc highlighted use the space bar to select the disc. You may choose more than one to provide redundancy. In the image below you can see that 2 SSDs each 111Gb have been chosen, sdg and sdm. Also note sdf the original drive for the freenas boot inage. In tthis case a USB flash drive.
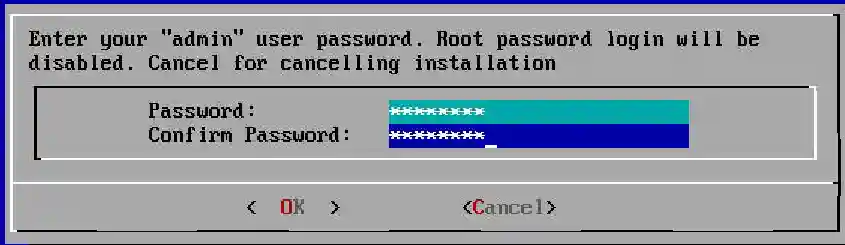
Follow the on-screen instructions to complete the installation process, including setting up an admin (not root!) user.
If your instalation media is larger than 64 GB you will be offered the option to create a swap file. Best advice is to not create the wap file, particularly on a SSD or USB flash drive.

Eventually you will be instructed to remove the instalation media and reboot.

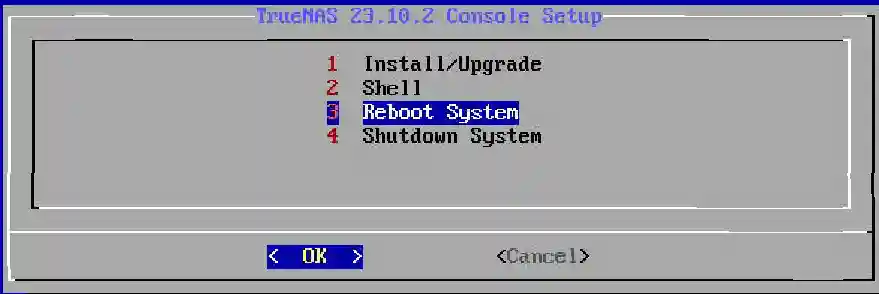
At this point you will have to reenter the BIOS and reconfigure the device to boot from the drive we have just installed TrueNAS Scale to. Reboot.
You can now continue with the initial setup here.