How to Install Jailmaker on TrueNAS Scale

Jailmaker is a Docker-related program designed to enhance security and isolation by creating confined environments, often referred to as "jails," within a system. These jails can securely run applications or processes with restricted permissions, minimizing the risk of those applications affecting the rest of the system.
Table of Contents
- Introduction
- Key Features
- Setting Up Jailmaker on TrueNAS Scale
- Installing Jailmaker
- Creating a Shell Alias
- Setting Jailmaker to Run at Startup
- Testing Jailmaker
Introduction
Jailmaker enhances Docker’s capabilities by providing robust isolation and security features, making it a valuable tool for environments where security is a top priority. Within TrueNAS Scale, I use Jailmaker to manage my Docker containers.
Key Features
- Isolation: Jailmaker focuses on creating isolated environments where processes can run without interfering with each other or the host system. This is similar to Docker’s containerization approach but with a stronger emphasis on security.
- Security: By confining processes within a jail, Jailmaker helps prevent potential security breaches. If an application within a jail is compromised, the damage is contained and does not affect the host system.
- Lightweight: Jailmaker aims to be lightweight, providing a minimal overhead environment for applications. This makes it efficient regarding resource usage, similar to Docker containers.
- Compatibility: Jailmaker is designed to work seamlessly with Docker, complementing Docker’s capabilities by adding an extra layer of security and isolation. It can be used to create more secure containers within a Docker environment.
- Use Cases: Jailmaker is suitable for scenarios where enhanced security is critical, such as running untrusted code, providing multi-tenant environments, or hosting applications with stringent security requirements
Setting Up Jailmaker on TrueNAS Scale
To set up the required storage:
- Organize Datasets:
- Create datasets within the apps pool for the apps.
- Create datasets within the appdata pool for the app data.
- Use the built-in apps user (UID 568) and apps group (GID 568) for all apps.
Steps to Set Up Jailmaker:
- Create a Dataset:
- Create a dataset named "jailmaker" within the apps pool.
- Set Up Docker Dataset:
- In the appdata pool, set up a Docker dataset for Docker data.
- Create Additional Datasets:
- Create datasets named "data" and "stacks" for Docker.
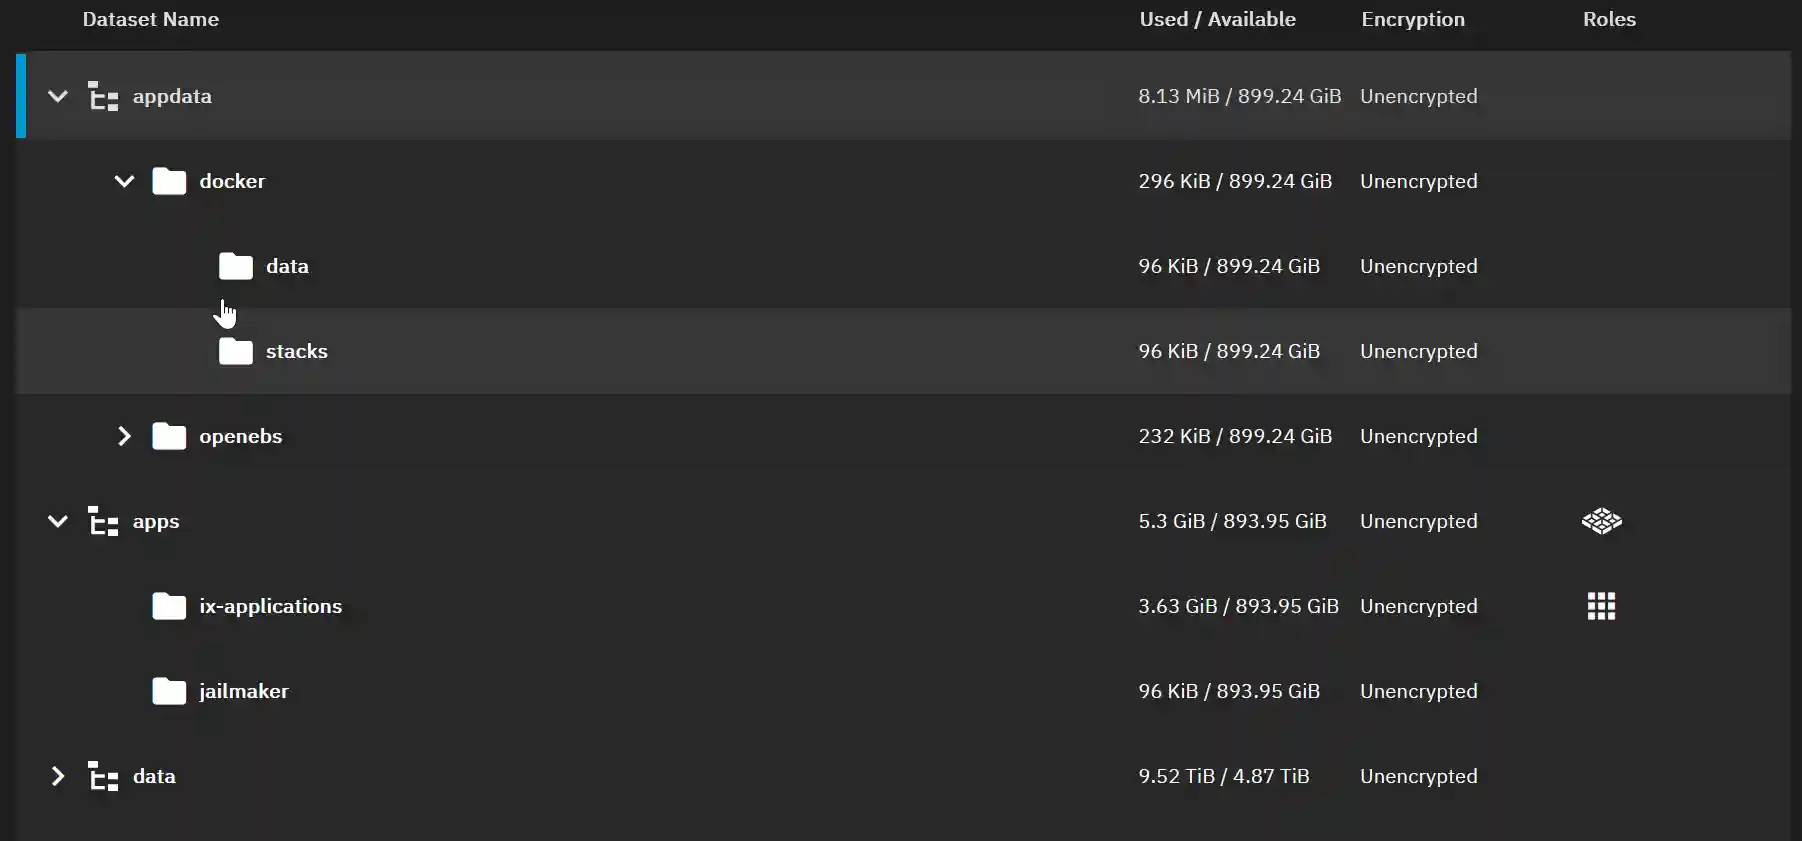
- Set Permissions:
- Set the permissions for the Docker datasets to user “apps” and group “apps” with group write privileges. Apply these settings recursively if necessary.
Installing Jailmaker:
- Get the URL of the files:
- From this GitHub repository. (this should be https://github.com/Jip-Hop/jailmaker.git)
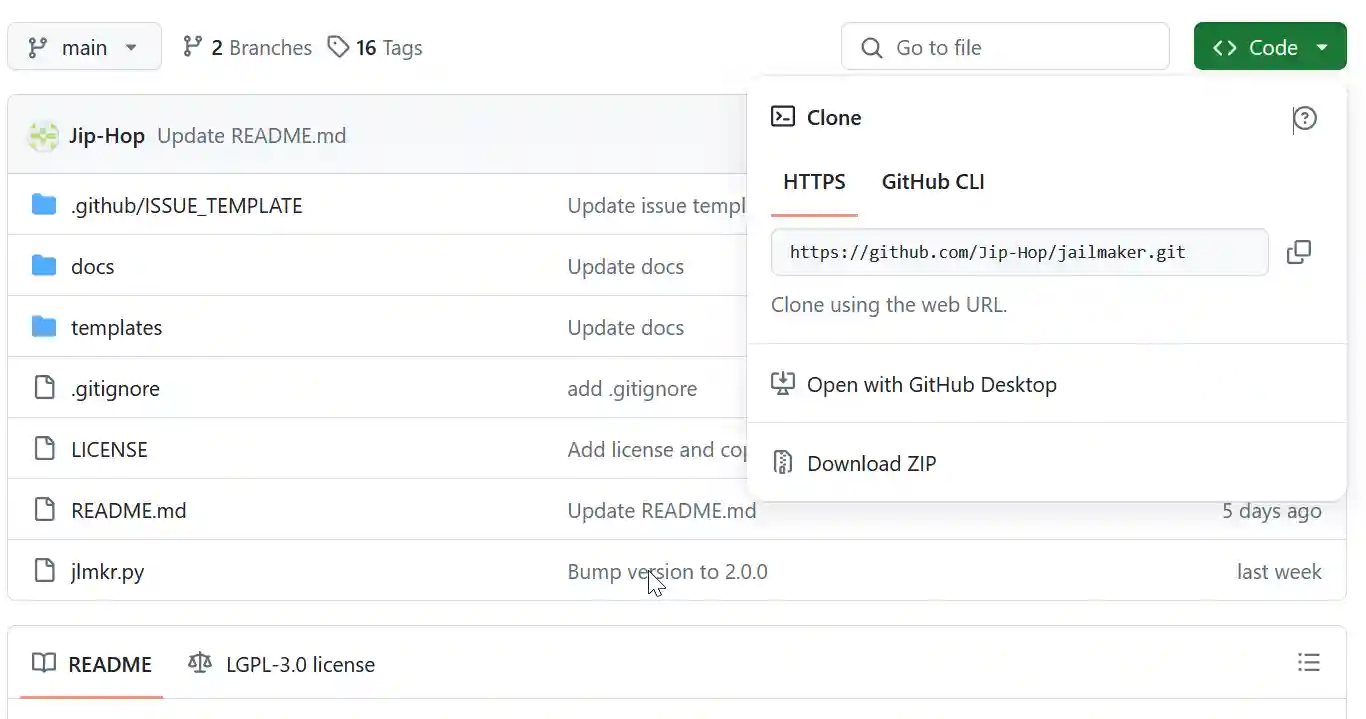
- Open a CLI shell on your TrueNAS Scale.
- Change to the apps directory:
cd /mnt/apps- Clone the Git repository:
sudo git clone https://github.com/Jip-Hop/jailmaker.gitCreating a Shell Alias
To conveniently run jlmkr.py without needing to change into the jailmaker directory or specify the full absolute path, create a shell alias for the currently logged-in admin user:
echo "alias jlmkr="sudo '/mnt/apps/jailmaker/jlmkr.py'"" >> ~/.zshrcTo use the alias immediately, run:
source ~/.zshrcSetting Jailmaker to Run at Startup:
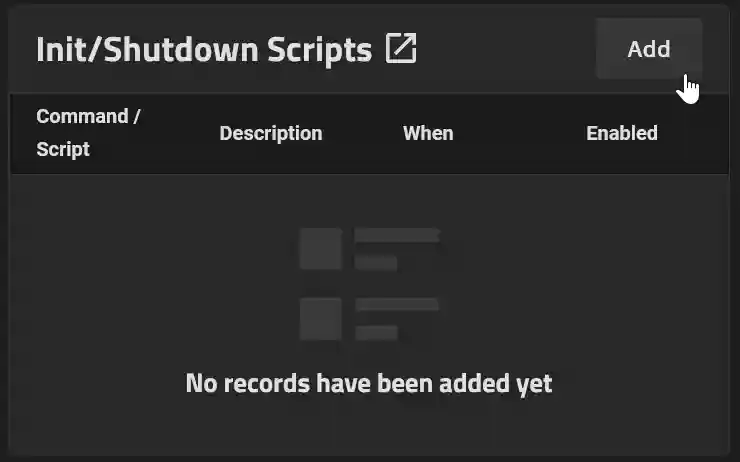
- Go to System Settings > Advanced.
- In the Init/Shutdown Scripts panel, click Add.
- Close and accept the warning.
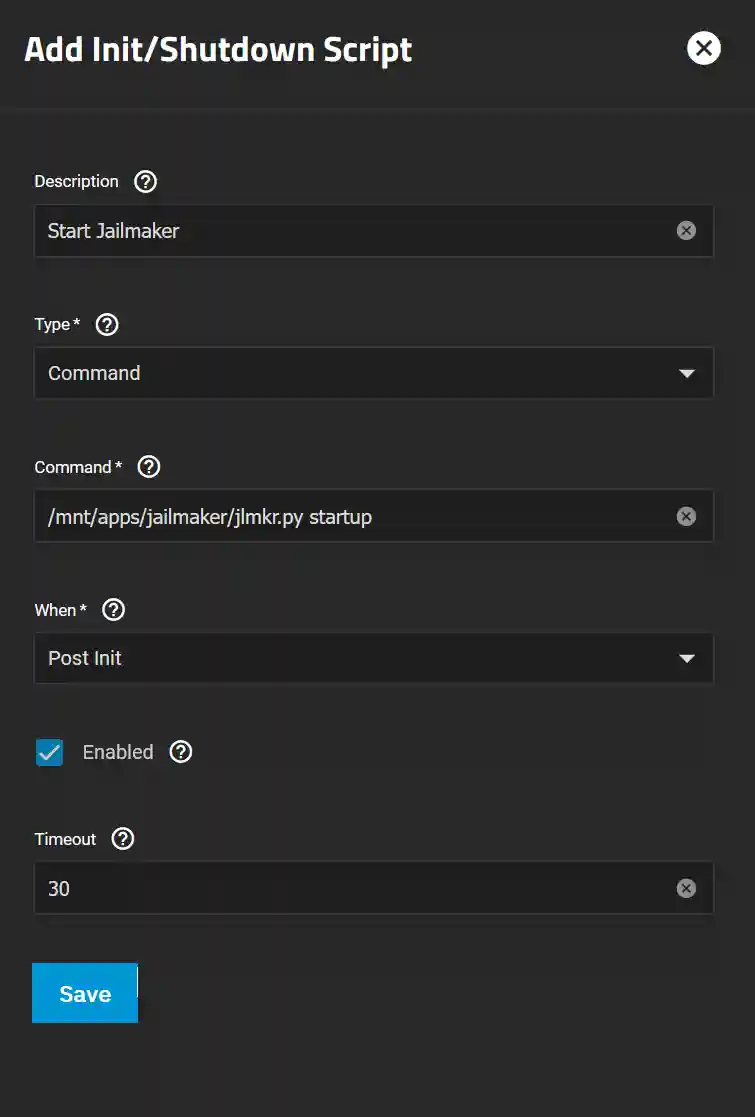
- Enter Script Details:
- Enter an appropriate description for the script, such as “Start Jailmaker.”
- Leave the Type as “Command” and enter the path to the script followed by “Startup”:
/mnt/apps/jailmaker/jlmkr.py startup- Increase the timeout to 30 seconds.
- Click Save.
Testing Jailmaker
To ensure Jailmaker is working, type the following at the prompt:
jlmkr listSince this command runs through the sudo alias, you will be prompted for your password. Jailmaker will return "No jails."

